Originally I had sketched a myriad of page ideas (probably close to twenty) for my little quiet book, but quiet book volume one will just be five pages long. I am okay with that. I've constructed the book in such a way if/when I create more pages I can easily add them, which is super.
The book isn't perfect, but I think that gives it charm (or is that just what people who make imperfect things say to feel better?). I didn't use any patterns, just had fun recreating the sketches I started with. There is a thin layer of patting in each page giving it some stability, but keeping it soft. There are no loose pieces, I didn't want to go crazy trying to keep everything together.
Here's the cover:
The classic mailbox page:
The Velcro bee page:
The elephant page (you stick your fingers through the back to be the elephant trunks):
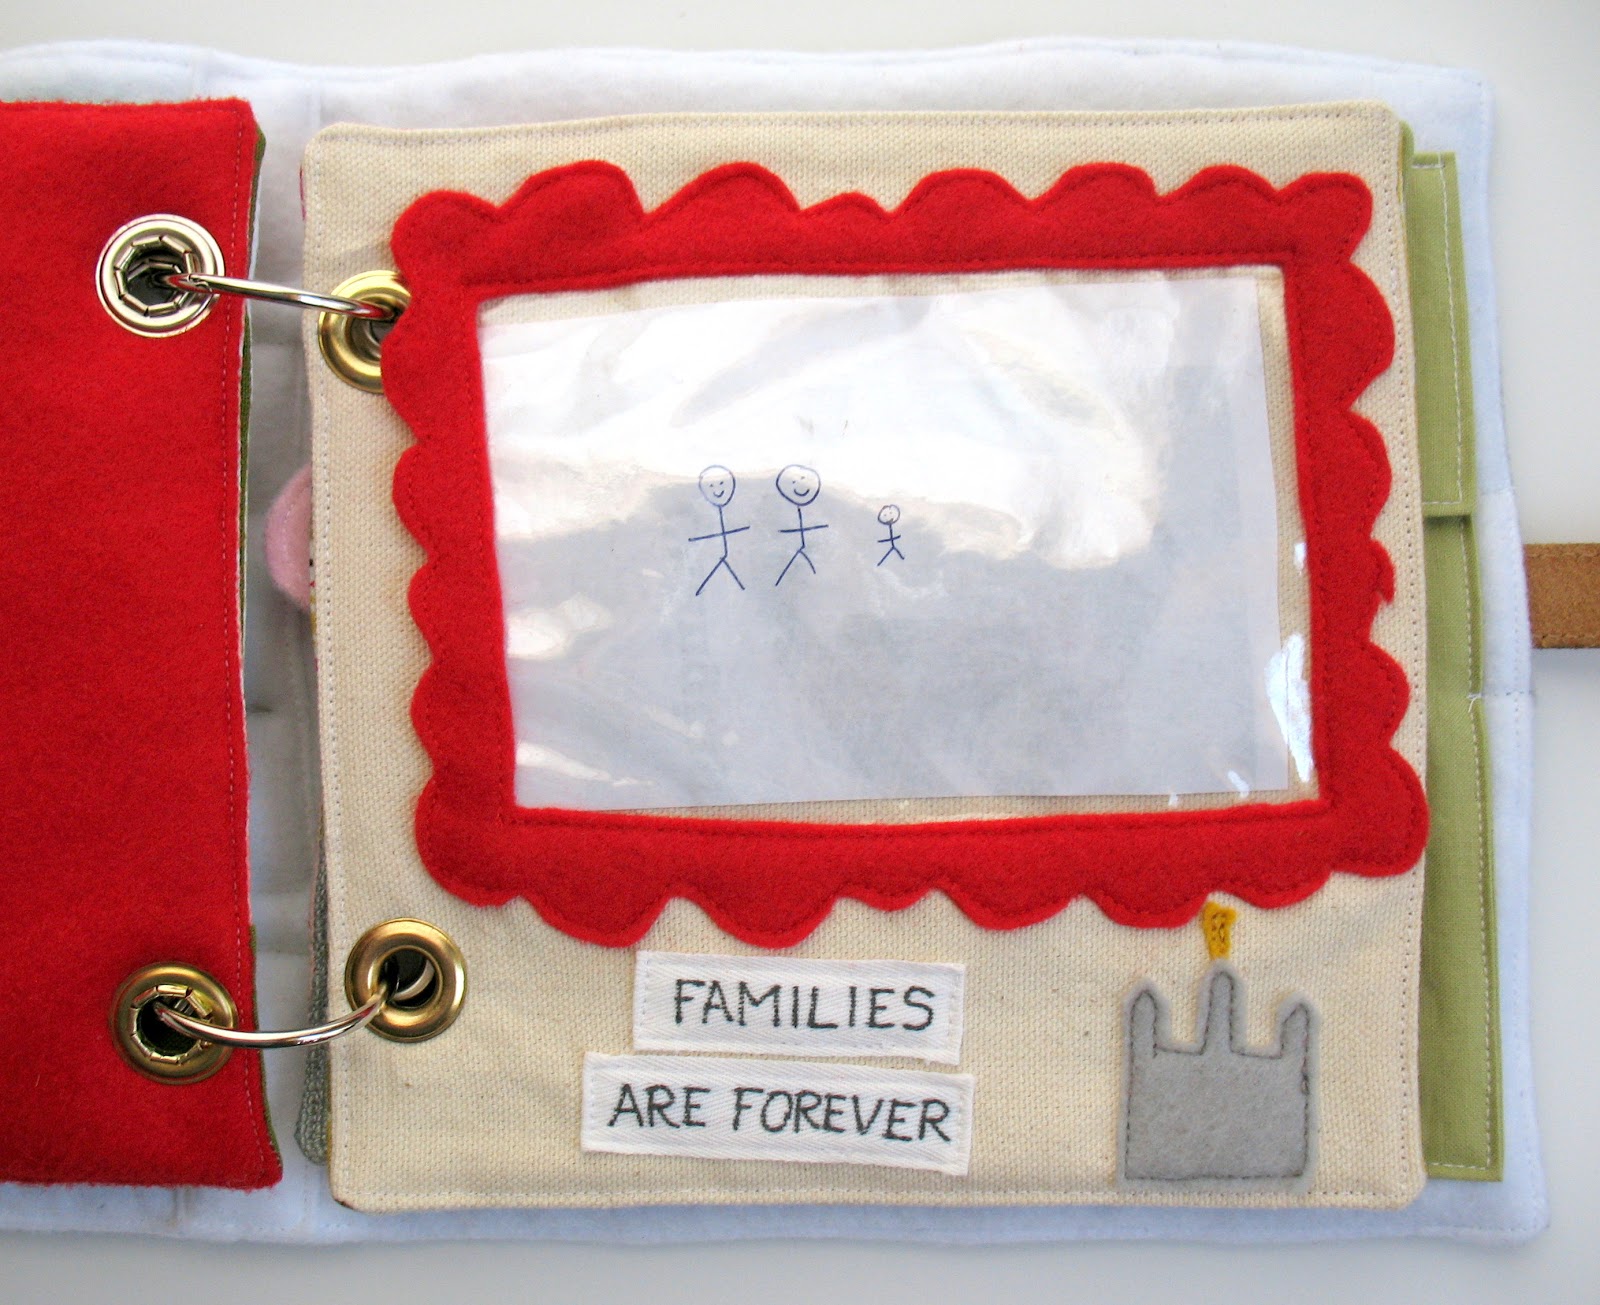
The family picture page:
The zipper pouch (back of previous page):
The button frog page:
And as an afterthought I added another little file like pouch on the inside back cover to hold a notebook or a small book:
Handmade birthday gift: done! With 7 weeks to spare! On to the next project...
Wednesday, March 7, 2012
Sunday, February 26, 2012
Toddler Raglan Tee
After making the basic toddler t-shirt I decided to make a raglan tee as well (why not)? I used this tutorial.
My sewing wasn't perfect (gathers and such), but I like the style. I will definitely be making more of these. I'm also going to use the pattern I made as a guide to a dress I am making for Easter and my baby sister's wedding this May (another project that was not on my official "make this before baby" list, oops!).
Wednesday, February 22, 2012
Toddler Tee
Despite the fact I sat down and listed all craft projects to complete before baby # 2 arrives I keep starting new things.
The other day I decided I needed to make some new t-shirts for Ellie. I wanted to work out the pattern now so post baby I could whip them out as needed. I used a well fitting shirt as a guide to create the pattern, and then used an old grey t-shirt to construct.
It was looking a little ho-hum so I added some little pockets in front. As well added some stretch lace trim (from my vintage stash) to the sleeves and pockets for a feminine touch.
The other day I decided I needed to make some new t-shirts for Ellie. I wanted to work out the pattern now so post baby I could whip them out as needed. I used a well fitting shirt as a guide to create the pattern, and then used an old grey t-shirt to construct.
It was looking a little ho-hum so I added some little pockets in front. As well added some stretch lace trim (from my vintage stash) to the sleeves and pockets for a feminine touch.
They are so quick and easy I want to sew up a storm making some more. I'm going to resist for now and get some other projects done with my shrinking free time (t-minus 8 1/2 weeks if baby is on time!).
Letterpress Spice Rack
I've been going back and forth with what I wanted to do with my spices recently. I really wanted to figure out a way to do a test tube spice rack (you know, geek chic?)--but when it came down to the details it just wasn't very practical. Perhaps someday I'll get some test tubes (they are so cool!) anyway for to keep liquid extracts (vanilla, almond, etc).
A month or so I pinned this. It's unusual, but fun! I had some leftover birthday present funds and decided to go for it. As usual Corey was perplexed, yet not surprised, that I would want a dirty old drawer for my birthday :) He's used to my odd choices now.
Here's my (half full) version:
It was difficult finding a tray that was wide enough to hold the spice tins I purchased. I eventually found one that was priced okay and went for it. I was hoping for a deeper tray, but worked with what I had (below you can see how they stick out quite a bit).
Strong magnets and strong glue was a quick fix!
Another deviation from the original idea was I purchased some fun yellow washi tape to label the spices. I liked this because it added some color and it's easily removable if I want to change things up.
Monday, February 20, 2012
Quick Diaper Pouch
This project has been on my to-do list forever. Once Ellie was past the new baby stage I hated dragging my diaper bag everywhere and just stowed a few necessities (diapers, snacks, etc) in my purse. My messy purse.
Last night I wanted to do a quick project and finally decided to whip this out. Nothing fancy. Functional and small was what I was going for. Now I have a nice little bundle to hold together a few diapers and wipes (I just stow a small amount of wipes in a zip top bag, the generic travel wipe holder always left me with dry wipes and it was bulkier).
It's just a rectangle sized to wrap around a few diapers with a smaller rectangle at the bottom to hold things in (which actually I don't think is necessary).
I used felt for half of the outside so I wouldn't need to add the soft side of velcro. Lazy? Perhaps. Either way it gets the job done. Here's a full view of the canvas side to see the general shape.
Friday, February 10, 2012
Small Refashion
I serendipitous ran across this post yesterday. I had just bought a similar shirt (thrifted, maybe $4?) last week! I thought it was pretty sweet. Corey thought not. I've been trying to tell him that old school stuff is cool. Think, what would my grandma wear? I think he thought this shirt was too grandma.
Basically doing the same steps as the original post, here's my tiny refashion:
Taking a step back perhaps I should have lowered the neckline a little more. Even so, I like the simple adjustment. Freshens up the shirt a bit. Amazingly I'm still able to button the shirt despite my 6 1/2 month bump!
Tuesday, January 31, 2012
Basic Sewing
I recently made two basic tank tops. Not super exciting, I know. I used an old tank as a guide and created my own pattern. They aren't perfect, but work well enough. Now that I've made two I think any future ones I make will turn out even better. I hate spending $15-$20 on a tank top and now I don't have to, hooray! As I got my fabric at cheap shop I probably spent $5 for both.
I can't get enough of the strawberry buttons.
Subscribe to:
Posts (Atom)


